12.2013 | Raspi car head unit
Everyone likes the Raspberry PI because you can do so much interesting things with it really easy. I ever wanted a own Mp3-Player with a nice display for my car and i tought that the Raspberry would be a good solution to start with. So i bought a Raspberry PI and some other parts to start with my project. After a bit of soldering, getting into the GPIO stuff and wiring all the components together i got the first problems with my project. I overcame all issues and have Listed you a complete tutorial do make this player so if you want to copy it of make a better version of it :) you wont have the same issues i had to build my geek device here.
At first let me show you a short video of the complete product. The buttons are in fact not really great. To be true i want to replace the whole front-panel sometime, but its functional for the moment. I used free music on this player from SunSpire who is a good friend of mine and doing music stuff since he is young, for himself and the Demoscene.
The devices you need
- Raspberry PI: I used the Raspberry PI Model B Revision 2 (This is important to know especially because GPIO pin locations and hardware specifications).
- Display: I used a standard Car display from china which has 2 video in ports and uses 12 V DC for powering you can search for similar displays here.
- Audio Amplifier: I used something cheaper than this one :). You can look for amplieifers here.
- NF Filter: At first i didnt bought one, but after the first playback with the player if got some ground loops, but the NF filter killed them. You can search for filters here. They will be added between the Raspberry audio OUT and the Amplifier IN.
- 12V to 5V Converter: Because the Rasbperry works with 5V and my Car uses 12V i bought some cheap converters from China for a cigar lighter and dissembled them for my purposes. you can get some cheap ones here.
- Switches: I used one main switch to power the devices and some micro push buttons for the player-control.
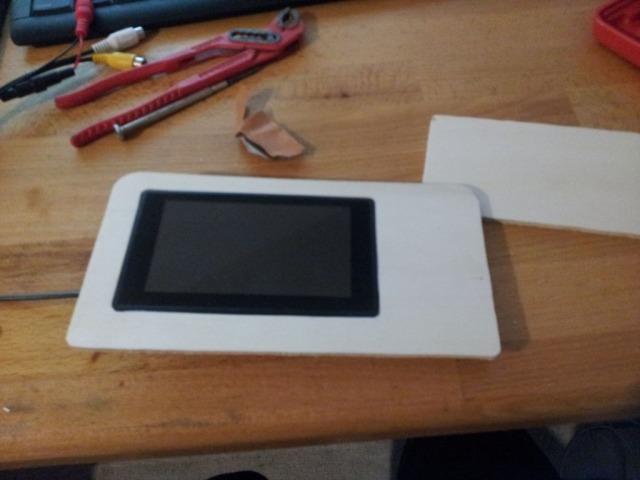
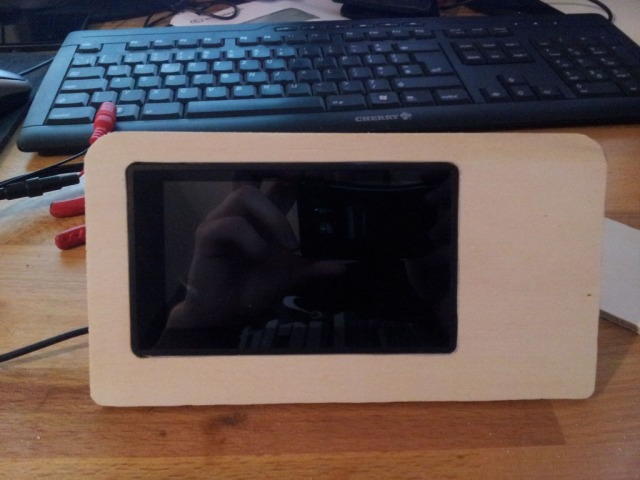
- Wood: I build the front panel out of wood :). I wanted to use PCB in the first place, but wood was more easy to deal with and cheaper.
- Wires: you know :)...
I need to say sorry because all links are for the german ebay, but i think you can find some equivalent devices in your language.
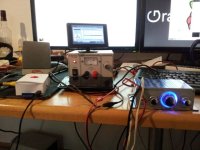
Here is a picture of the first test scenario i created. You can see the amplifier and the car display i used.
First encounter: Sticking all together and... Running a test scenario. I put all parts together, installed a raspian image to a class 10 sd card and used VLC to tested if the sound and display came up. The first problem was that i had no sound. After some searching, i found the solution in changing the standard sound device of the raspi which should be "analog" for my project and not "digital". I will add every tutorial i used to change Linux at the end of this page, so you wont spent that much time i did for realizing this project.
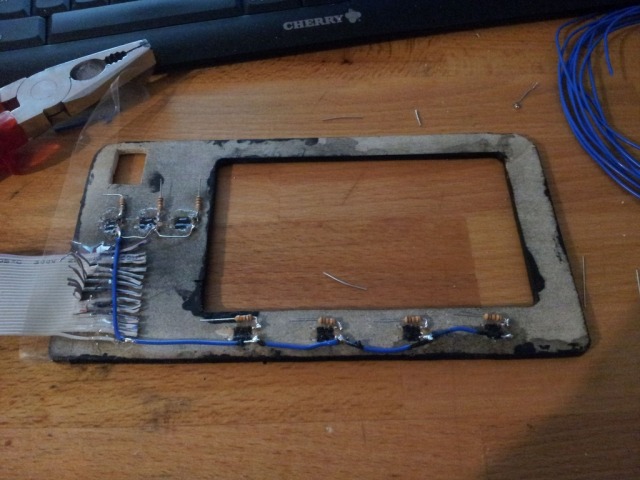
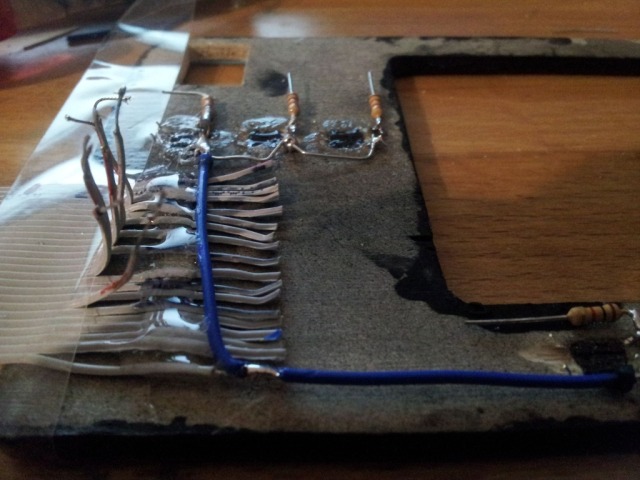
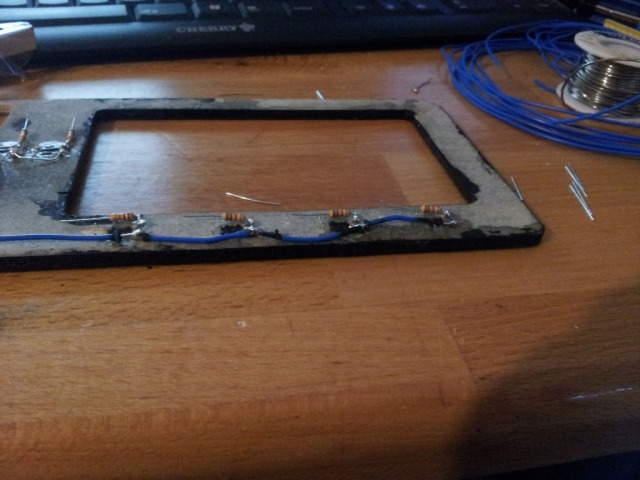
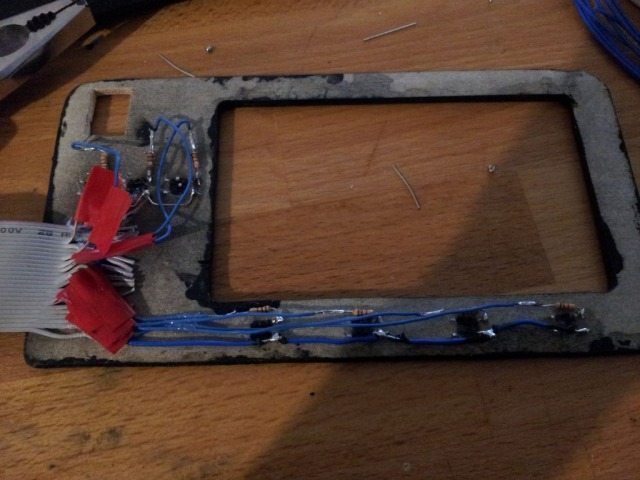
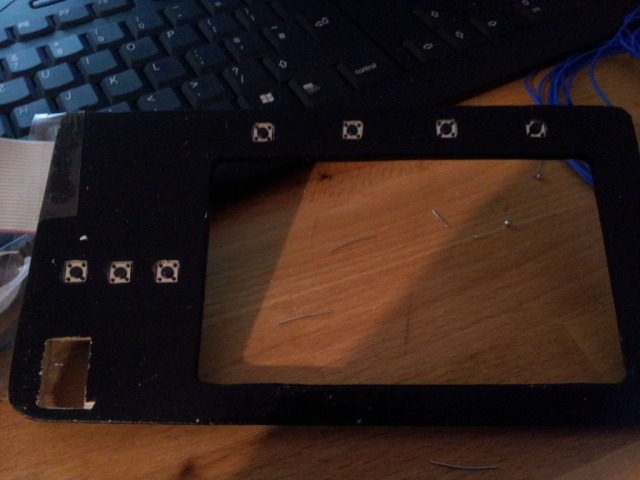
After sound and display were up, i needed some hardware push buttons. Sure, i could have bought a touch display, but that was too expensive i thought. For the input i didnt wanted to use some bluetooth keyboard either. So i started to wire some buttons to the GPIO pins and wrote a simple java application with the help of the Pi4J library. The first tests looked good and so i started to build a front panel with the most important push buttons (previous,play/pause,stop,next,volume down, volume up, mute/unmute, random play/normal play). Because i have only 8 GPIOs available, im missing a repeat button, but that is not so bad. I could use a I2C bus to add more buttons, but i think 8 buttons are enough for the most use cases of this player.
After wiring the front panel and adding it to the GPIO, i worked harder on programming the mp3 player in Java. I had some minor problems with VLC4J using some events in the library, but after some talking with "Mark Lee", the creator and developer of VLC4J he made a fixed version for me to use. Thanks again for this smart and fast help :). After my first version of the mp3 player was ready, i tested it a while when driving to work. Unfortunately i got another nagging problem within shutting down the player. Mostly every time i shut down the player the SD card got corrupted and i needed to rewrite the image to use it again. I looked for some solutions, and one of them was a UPSproject, but i didnt liked that solution. I looked around for the second method of a "Read only system". There are many tutorials how to make a read only raspberry, but none of them were good or clear enough described. Luckily i found some great site where you can download a already installed read only image with remounting functionality. Also there were some problems with this image.. it didnt started on my Raspberry. I tested it on another one and it worked.. what a magic i said, and contacted the developer of this image. He said i should update the raspberry kernels and contact him again if it works so he can distribute a new version of his Image. So i updated the kernel and tested the image again on the "not working" raspberry and it worked. Thanks to Kasza :) from Nutcom.
So now i got a working read only image which doesnt break my sd card anymore :). But there were some last problems with my player. it was to slow. I knew from the start that java isnt the best solution, but im not a c++ crack and i dont like python, so i looked how to make the raspberry faster and how to speed up java. After searching two whole days the solution was very simple. Im now using Java 8 FX which runs much much much... faster than java 7. The second thing i had done was to remove the lame LXDE stuff and replaced it with the "nodm" display manager and the "awesome" window manager. After that my player now works fine and stable. It will boot up in almost 45 seconds. Im using an external USB memory stick where my mp3s are stored and also the configuration file for the player.
Tutorials and resources i used
- automount usb devices and also NTFS (i used automount): http://selfprogramming.bplaced.net/index.php/2012/10/23/automount-usb-drives-in-raspbian/
- PI4J to use the GPIO pins of the raspberry with Java http://www.element14.com/community/docs/DOC-54112/l/java-on-the-raspberry-pi
- VLC4J wraps the vlc library and you can use vlc in java very easily http://www.capricasoftware.co.uk/projects/vlcj/tutorial1.html
- This pdf shows the GPIO pinouts for both raspberry models:
- Here are two tutorials to add sound to your raspberry and to set the default sound device
- to prevent the scrren from blanking can be seen here
- Java8 for the raspberry
- The IPE readonly raspberry image
Downloads:
- [Script](essentials.zip) you can download some scripts that will preconfigure your Linux. :) it has all you need and it will save you a lot of time, trust me.
- Download the mp3 player [here.](GPIO-MP3.zip).
- Or get the source of the project [here](GPIO-MP3%20SRC.zip).
